Do you need to upload product photos to your business website regularly ? If you would like to upgrade your product photos retouching technique, or to remove photos’ background more easily, check out the below 4 methods (+ 1 Bonus Tip).
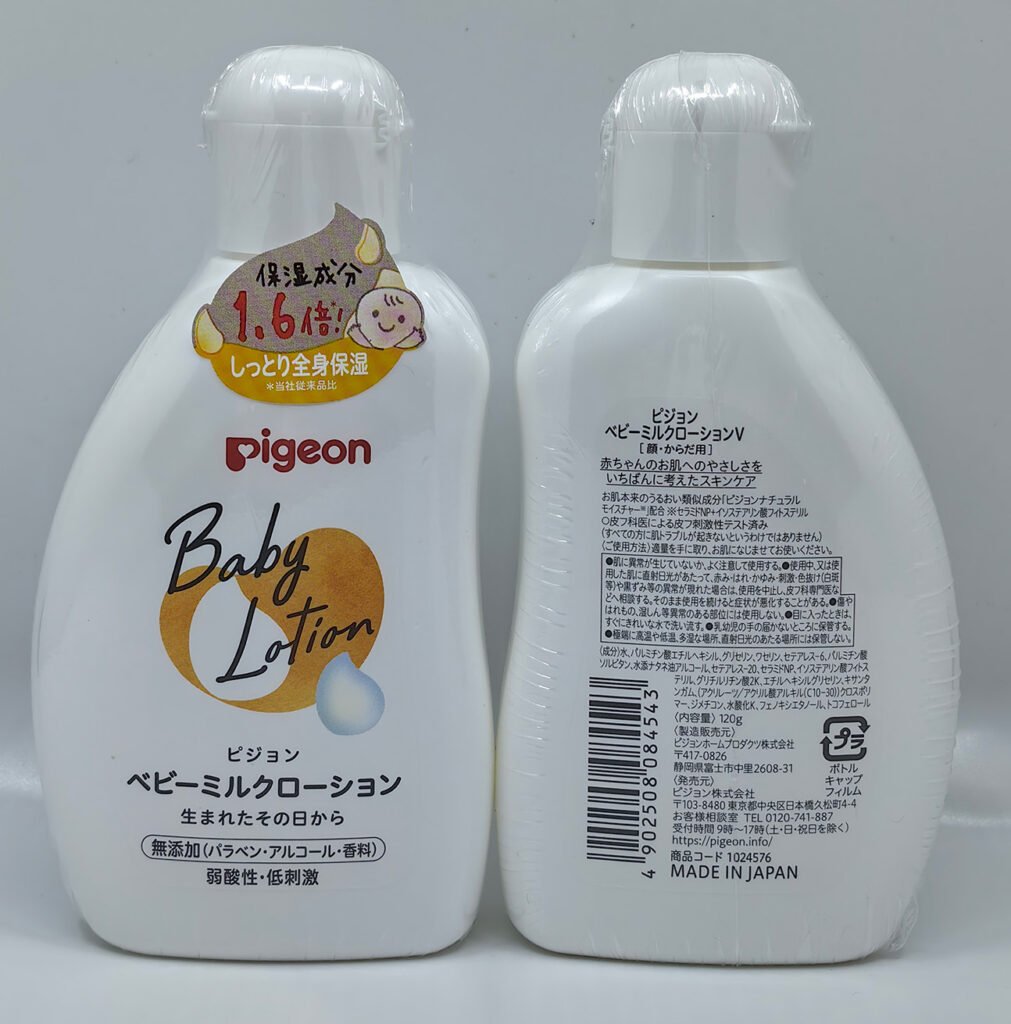
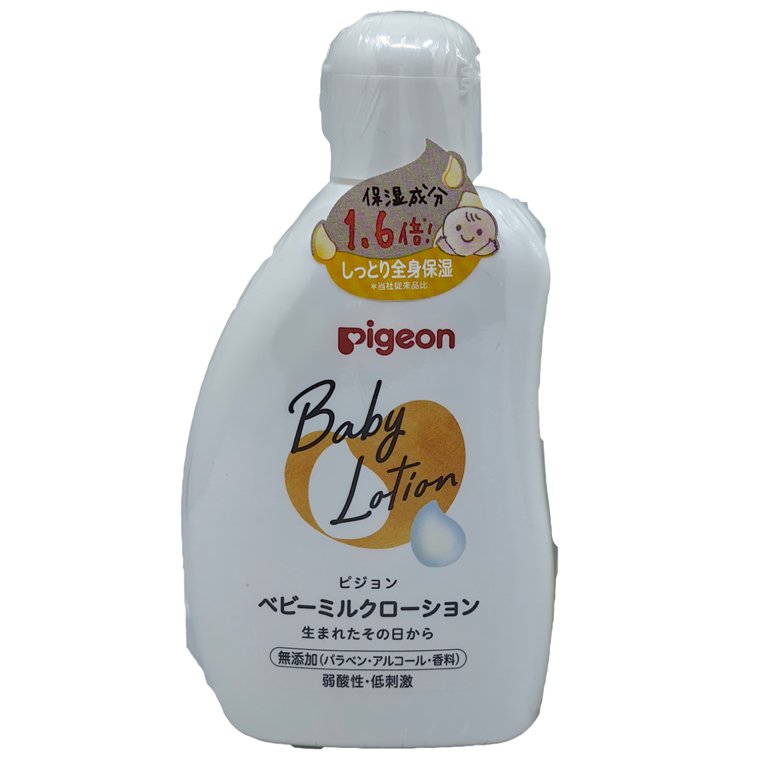
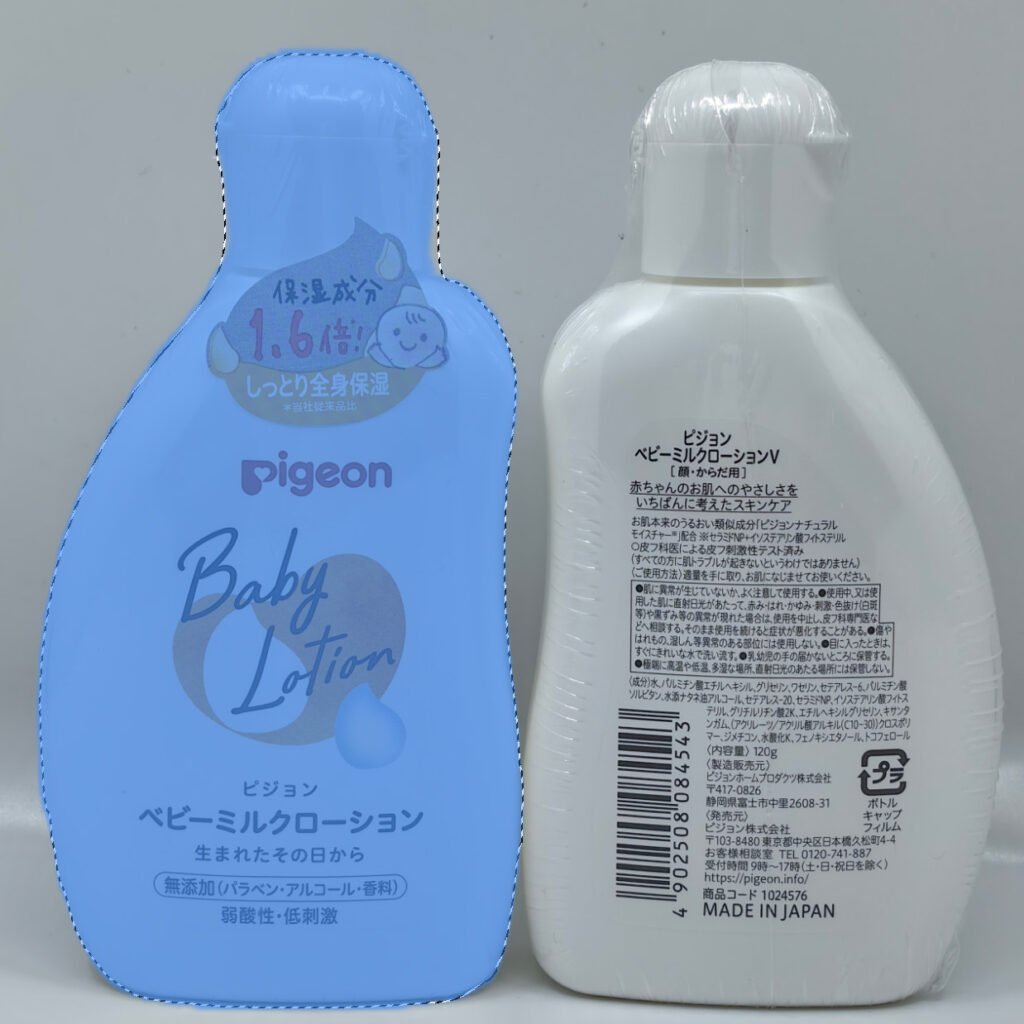
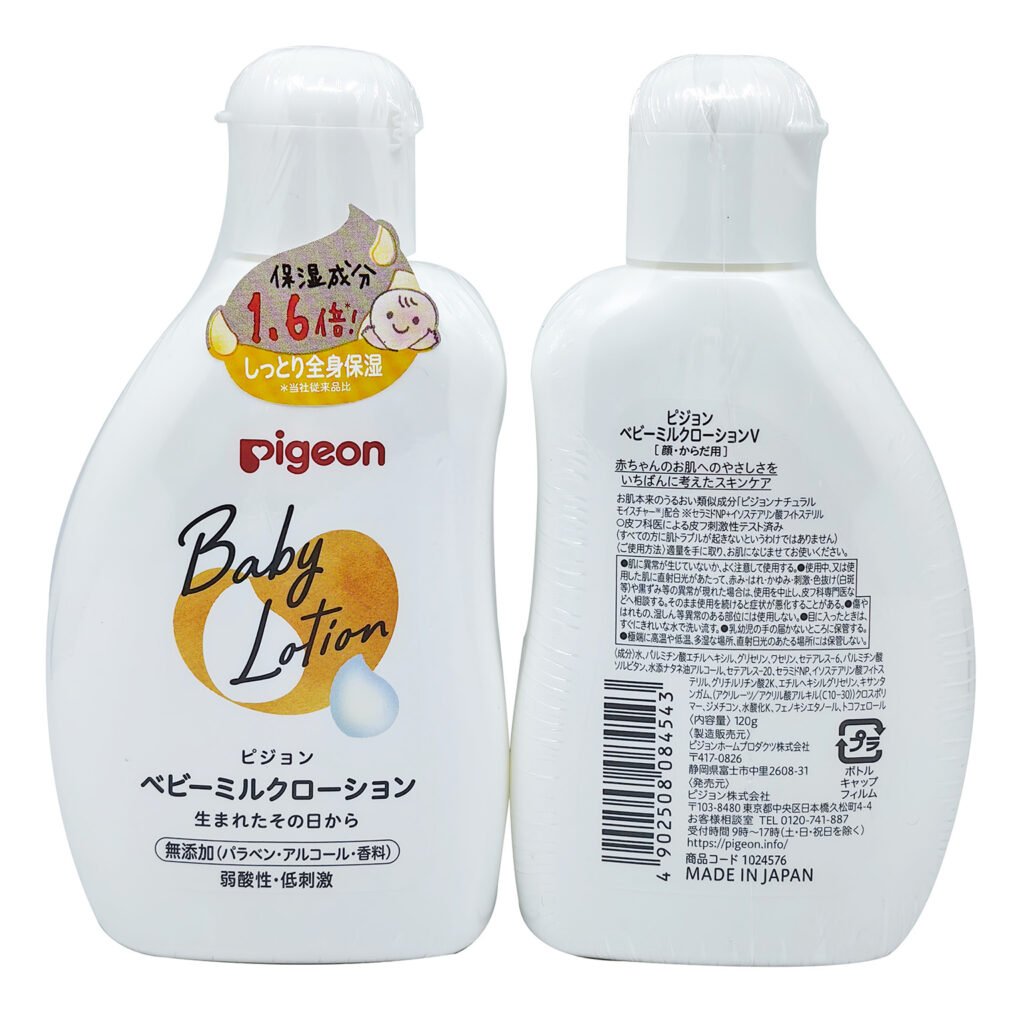
The product photo we will be using in this tutorial. The front and back of a body lotion bottle.
Although there are a lot of content-aware applications that can be used to remove product background in one click, the results vary. If the product photo is taken in a bright and clear environment, the result is always better. However, if the colour is not vibrant, or that the shape of the product is complex, most often it does not perform a good job. Since a high-quality product photo is essential especially when clients are purchasing online, where browsing photos with high resolution and multiple angles is important to know the product details, we do not want to see product photos with weird edges and colours.
I will be using Photoshop for product background removal and photo retouching. So, let’s get started.
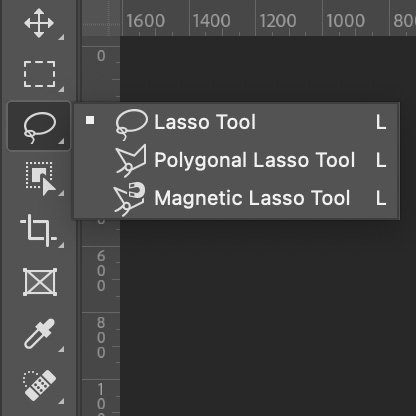
1. Lasso Tool
This is the most basic tool. Using the lasso, you drag along the edge of the product until you select the whole object you want in the photo. Once you release the lasso tool, the portion is selected, and you click “Layer Mask” (if you don’t see Layer panel in the right bottom corner, go to “Window” at the top bar, then click “Layer” to open the panel).
Lasso Tool is the fundamental tool in the basic selection lasso category.
Once the selection is made, click the "Layer Mask" button to remove the background.
The downside of using this simple tool is low controllability. If you are using a mouse or a trackpad to control, you can face difficulty making the perfect selection. Also, if the object is large and you need to drag a long way the selection completes, you will be exhausted doing this.
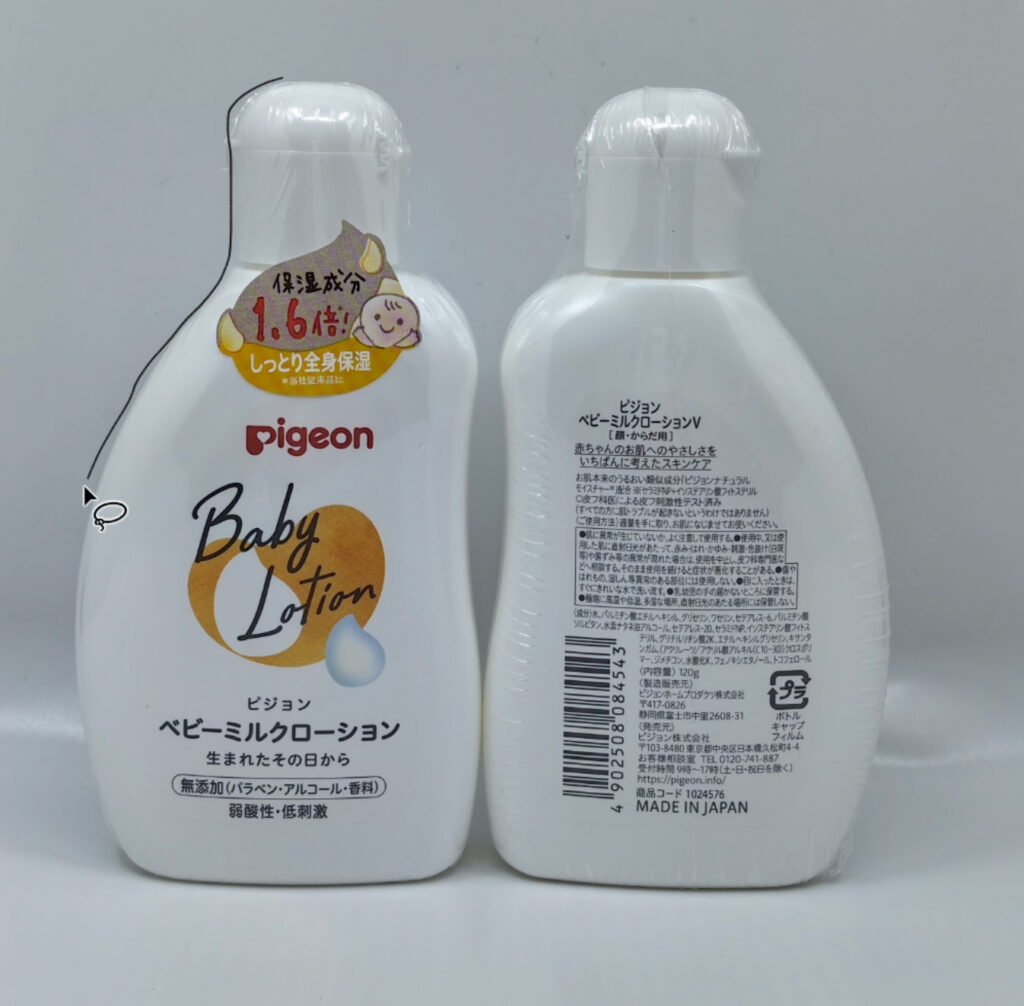
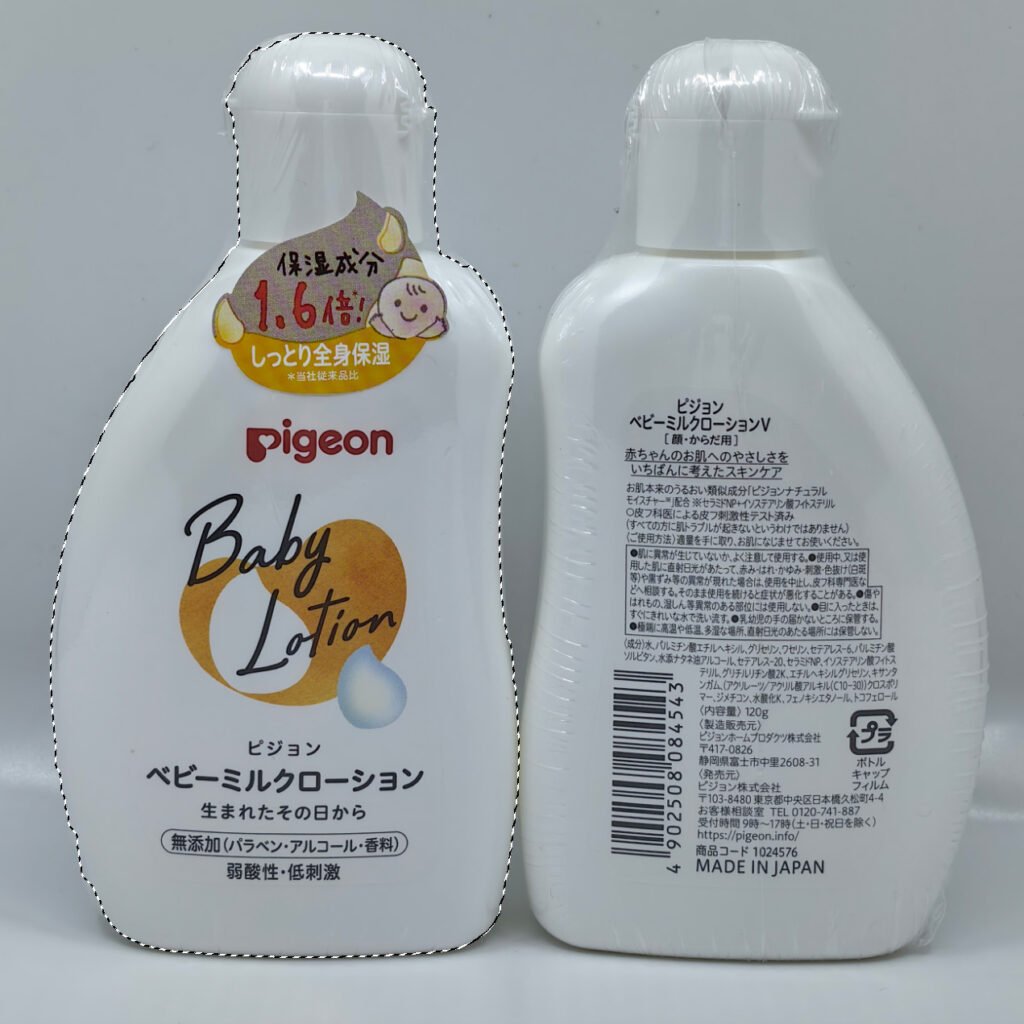
Dragging along the object with the lasso tool to make selection.
Product background removed with the lasso tool. We can still see the background at the edge.
The edge is definitely not something we want to upload to our online store
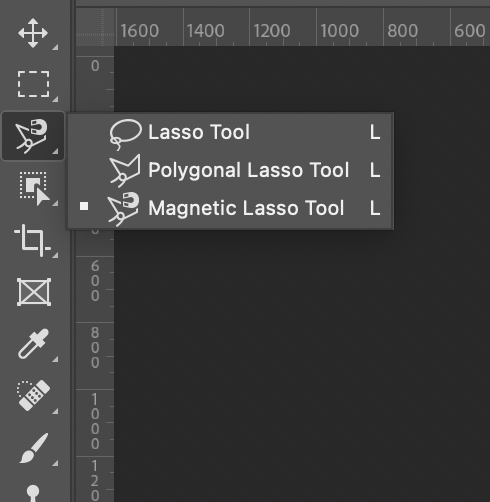
2. Magnetic Lasso Tool
Similar to the lasso tool, the magnetic lasso tool allows you to drag along the edge of the product and make selection. One benefit is added. The tool automatically helps identify the edge, which is the colour difference between an object and the background, so that you can select more easily. As you drag along the edge, the selection line will be automatically snapping to the software’s calculated edge.
Magnetic lasso tool is the most advanced in the lasso tool category
Magnetic lasso tool snapping automatically to the edge of the object.
You can see that the lasso sticks quite well to the surface of the bottle. If you can easily identify the edge of the product compared to the background, then there is a high chance this tool can do a good job. However, if the the edge is not clearly discernible, then the tool’s performance is not much different from the lasso tool. Check this out.
Selection is better than lasso tool but not good.
3. Quick Selection Tool
You select an object by dragging over the area of the product, instead of dragging along the outline of the object. The software will analyse and make the selection. This tool is more efficient than the previous 2 tools. You can select the object within 10 seconds.
Quick selection tool
The selection is clearly tightly fitting the product
Meanwhile, if you think some areas should not be included, you can place your mouse over the selection, press Alt (Window)/Option (Mac) and drag over that area again, to deselect. You can also adjust the size of the selection brush to do smaller or bigger adjustment
Quick selection tool is one of the tool I prefer to make selection.
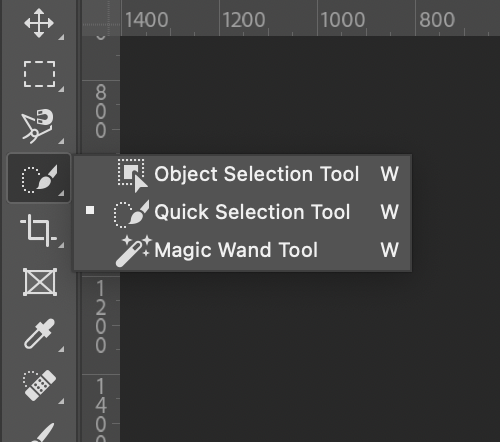
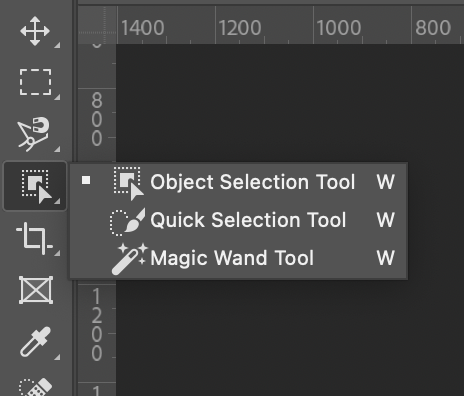
4. AI Selection Tool (Object Selection Tool)
A very user-friendly tool and accurate tool among the others.
This is a relatively new selection tool in Photoshop. Using AI technology, Photoshop is now able to even better select an object. It only requires you to drag a rectangle over the desired object. The software will analyse for a few seconds. After that, it will give out a selection. Many of the times, it is definitely worth trying since it saves a lot of time.
Object selection tool
The most convenient selection tool in Photoshop.
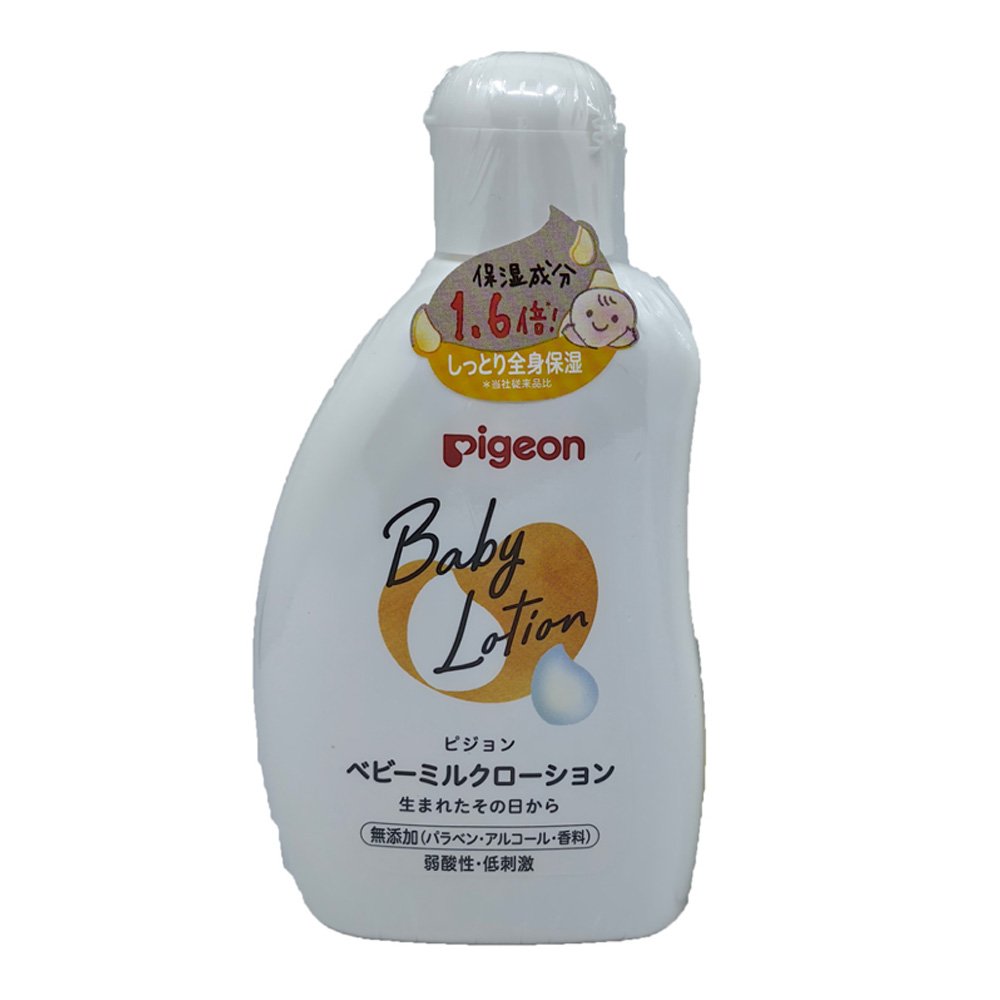
Depending on your objective, this can be what you want for uploading to the website. But it also depends on the channel that you will show this edited product photo to the audience and customers. If you will enlarge the selection for purposes like making flyer, catalogue, or placing it to a coloured background, most of the time customers can tell the quality is still not that good.
This can be the quality for product photo display on e-commerce website
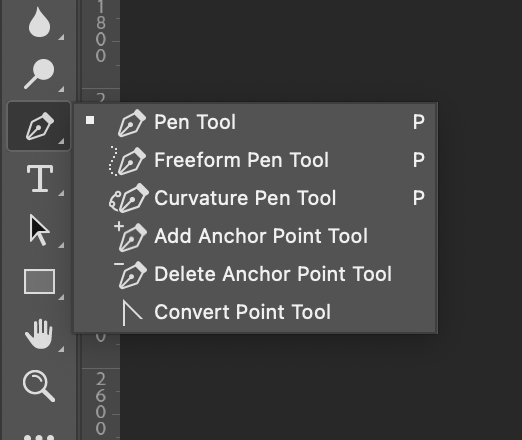
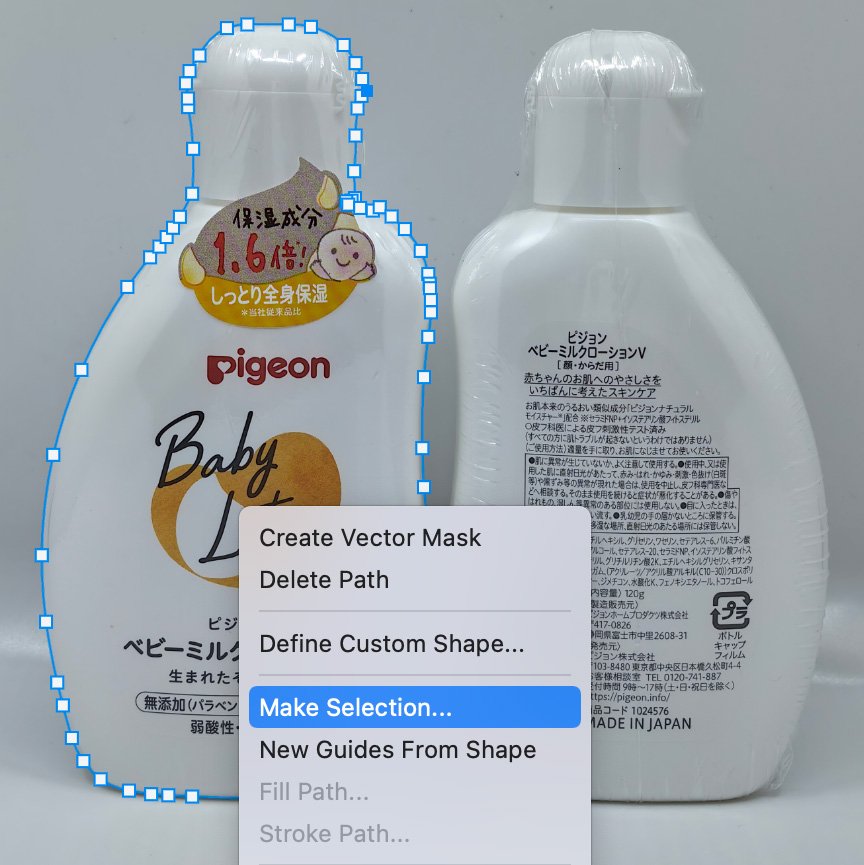
5. Pen Tool
And the final bonus selection tool, the Pen Tool.
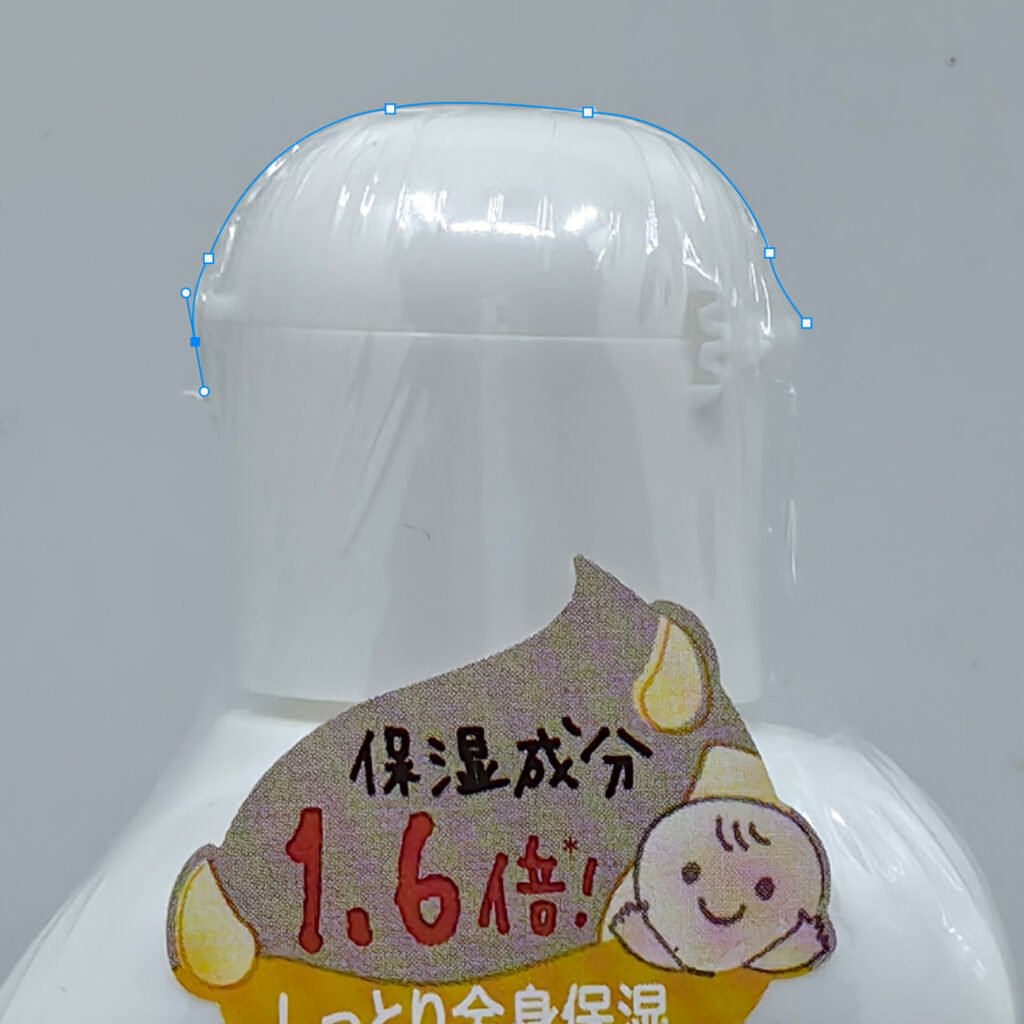
This is my tool to go for making a selection. The pen tool allows precise selection over any areas because you control where it goes. For areas where the software cannot analyse perfectly, you can do this with your own eyes.
Pen Tool
Pen tool has the highest controllability.
The pen tool requires time to master. Dragging around the whole product is no fun if the product is a complex shape.
After finishing the selection, right click and click “Make Selection”. Then you can press the “Layer Mask” button to remove the background.
Dragging around the whole product is no fun if the product is a complex shape
To output product photos with crystal clear sharp edges, this is my way to go.
Summary
To sum up, the main 5 selection tools that I use frequently are: Lasso Tool, Magnetic Lasso Tool, Quick Selection Tool, Object Selection Tool (AI selection) and Pen Tool. Pen tool is the most powerful, but it also requires the most time for making selection.
The good news is we don’t only use one tool to make selection most of the time, except for very complex shape. For me, if I see the shape has a clear edge and background, I will try to select the object with AI selection or Quick Selection. It cannot give you the finish look at once, you still need to refine the selection, but it saves time. However, Pen Tool is definitely needed for high quality product photos for uploading to e-commerce website.