As a digital practitioner and graphic designer, I do product photo retouching and background removal for many clients. They give me raw photos in all sorts of conditions. Sometimes, the photos are clear and bright. Other times, they have a lower quality or have a dark colour tone.
It is understandable. It is not easy to take good photos in every time. Regardless, I can help you to improve the quality of the product photos in my product photo editing service.
However, if you are trying to learn how to do photo editing for product photos, watch the below step-by-step guide. I am sure you can have better ideas after reading this tutorial. I will be using Photoshop, but you can use other photo editing applications as well.
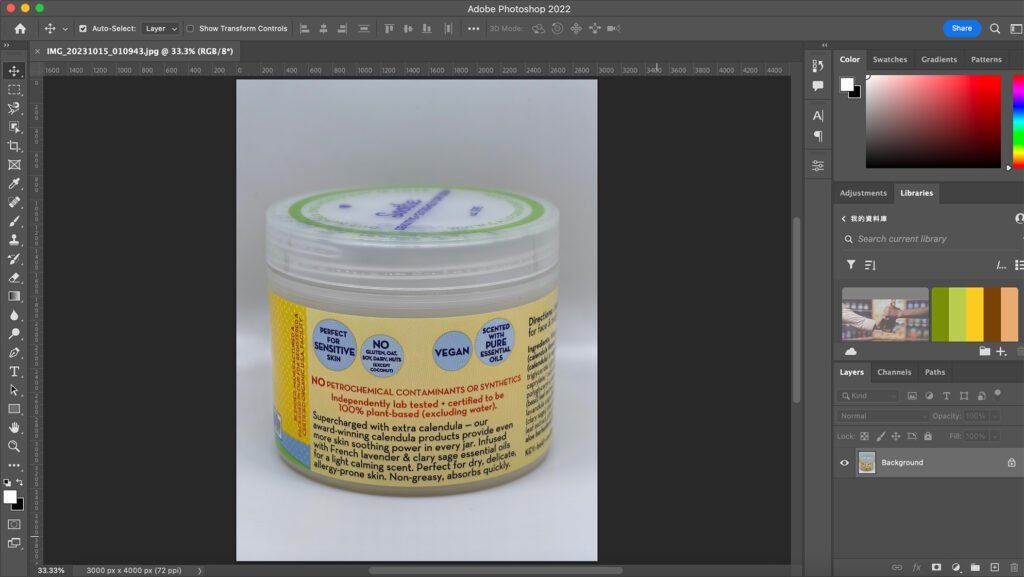
1. Open your product photo in a photo editing application (e.g. Photoshop)
You have taken a product photo. Your first step will be to open it in a photo editing application
2. Analyse the photo
Is the photo bright enough ? Is the photo looking dull ? Here, we are preparing to remove the background of the product photo. If the photo is not bright enough, we cannot see the edge of the object with our own eyes. It can seriously affect the output.
For example, if your photo is too bright, and part of the product is transparent, you can accidentally remove parts of the product because it is hard to distinct the product and the background itself.
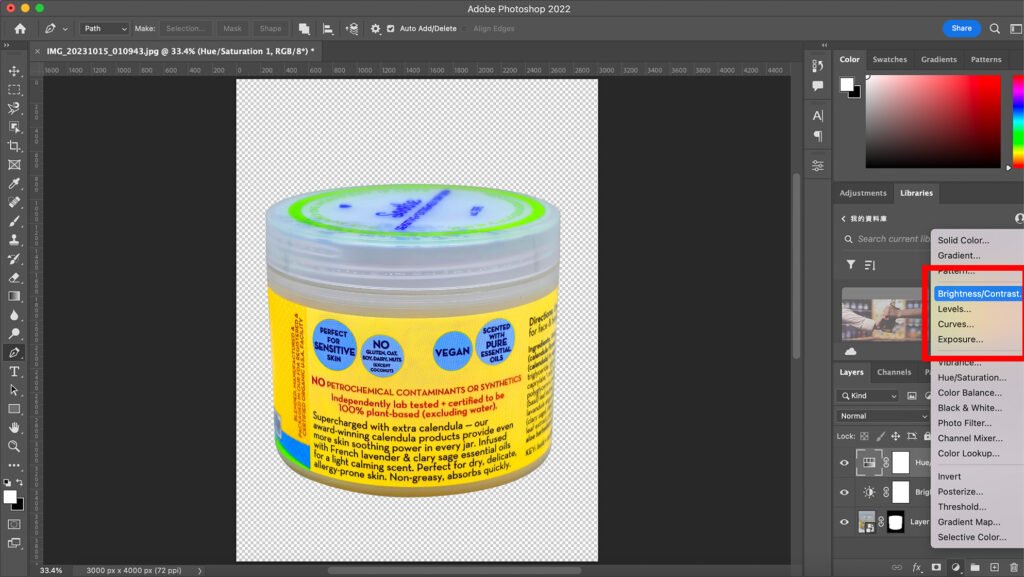
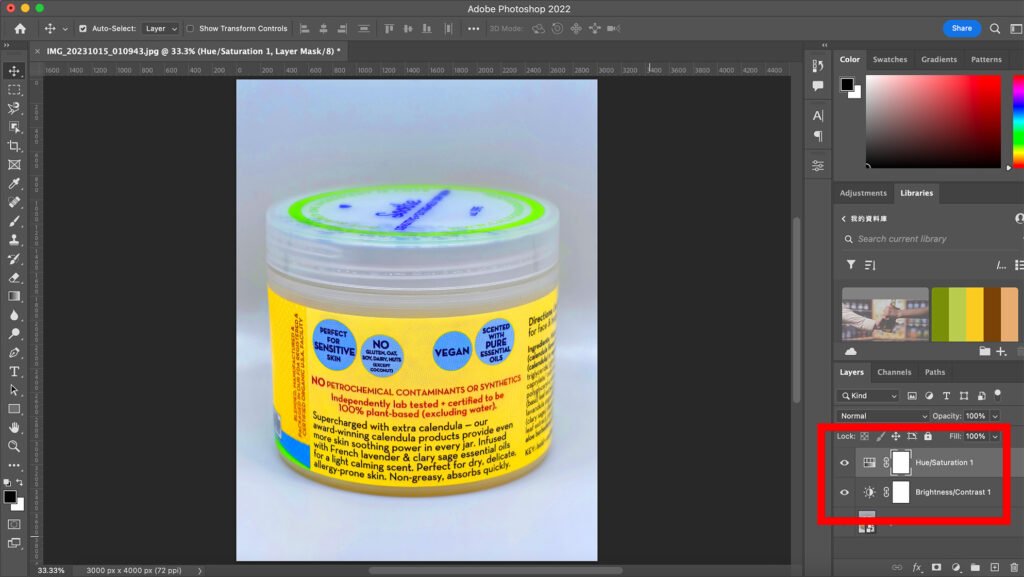
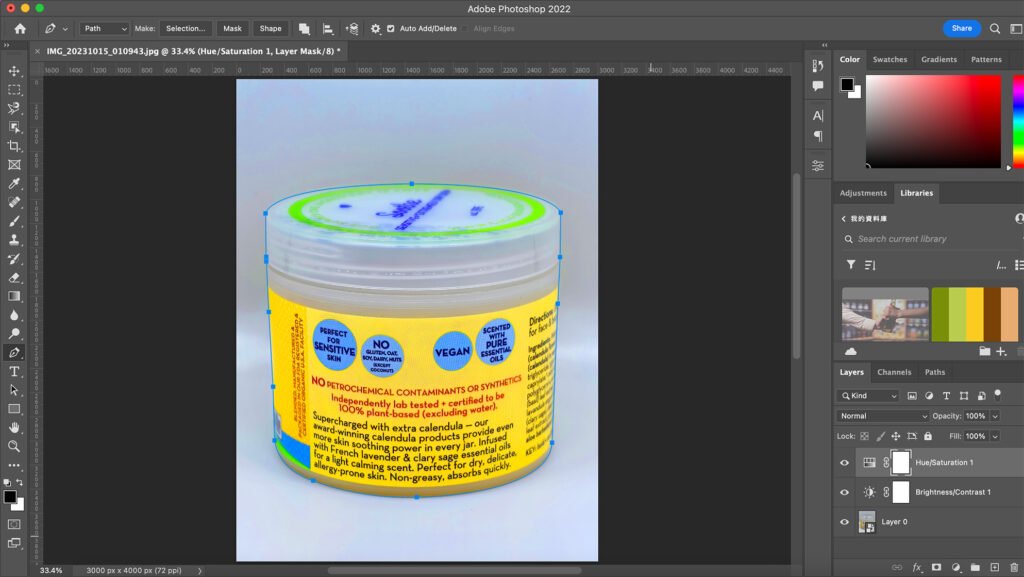
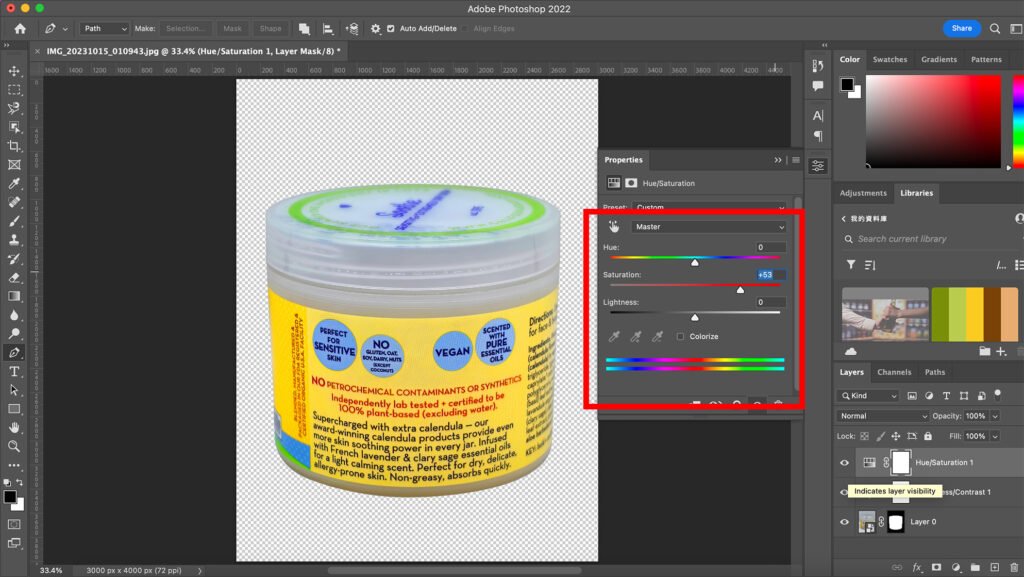
Here, I increase the brightness and colour saturation of the photo for the sake of background removal.
Click “Brightness” and “Hue/Saturation” (separately) from the adjustment layer symbol at the bottom right menu bar (Shape like a Moon/ Yin-Yang). Double click the icon of the adjustment layer and start tuning the brightness or the colour.
You may be thinking if I will output the photo in this exaggerated colour. Don’t worry. This is just for the sake of product removal. The actual quality of the photo is not affected because the adjustments are done on the adjustment layers instead of the photo itself (imagine you have a tint glass on a piece of paper. The paper does not turn into the colour of the glass. Once you remove the glass, you see the original paper)
3. Background Removal with Any Selection Tool
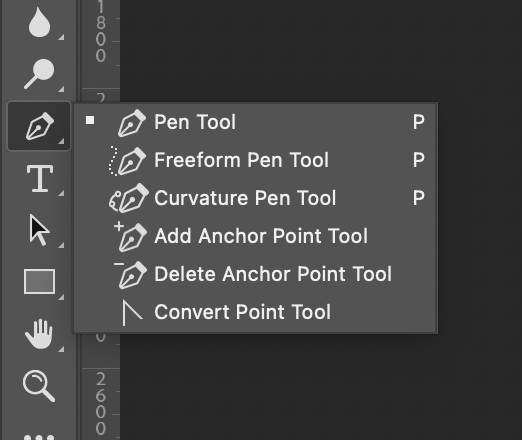
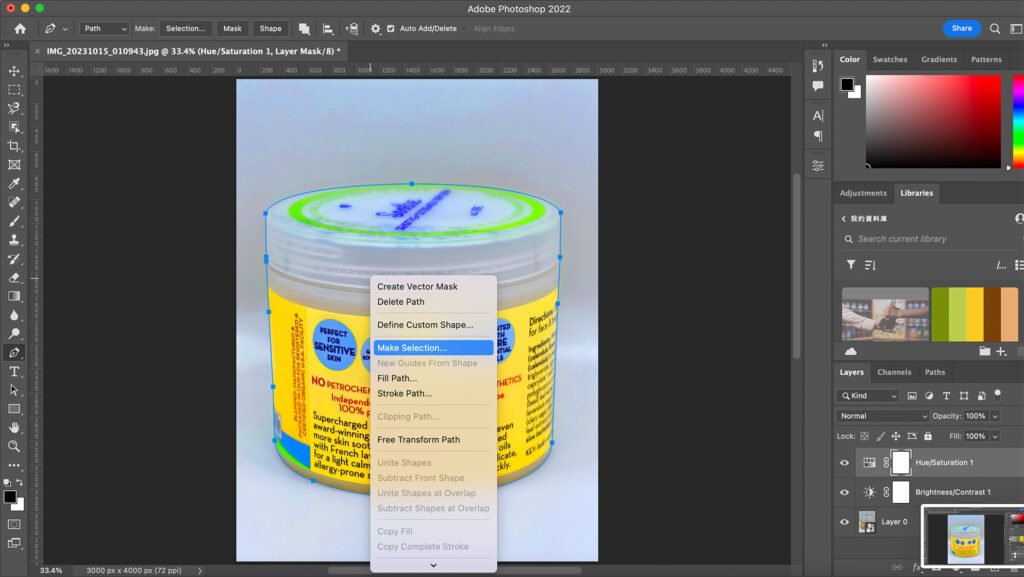
Let’s start cutting out the background. You can use any selection tools. Their performance and controllability vary. For precise and crystal clear selection, I use the Pen Tool. If you want to know more about the different selection tools of Photoshop, including the Pen Tool I will be using, check out my blog “4 ways to perform product background removal easily”. I included 4 methods (with 1 extra method, total 5) to remove the background from the photo.
After circling the product with the Pen Tool, right click and select “Make Selection”. Click OK for the following Option box.
Then, you can see the selection turns into dotted line.
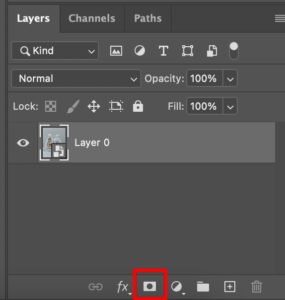
I will select the photo layer and press “Layer Mask”.
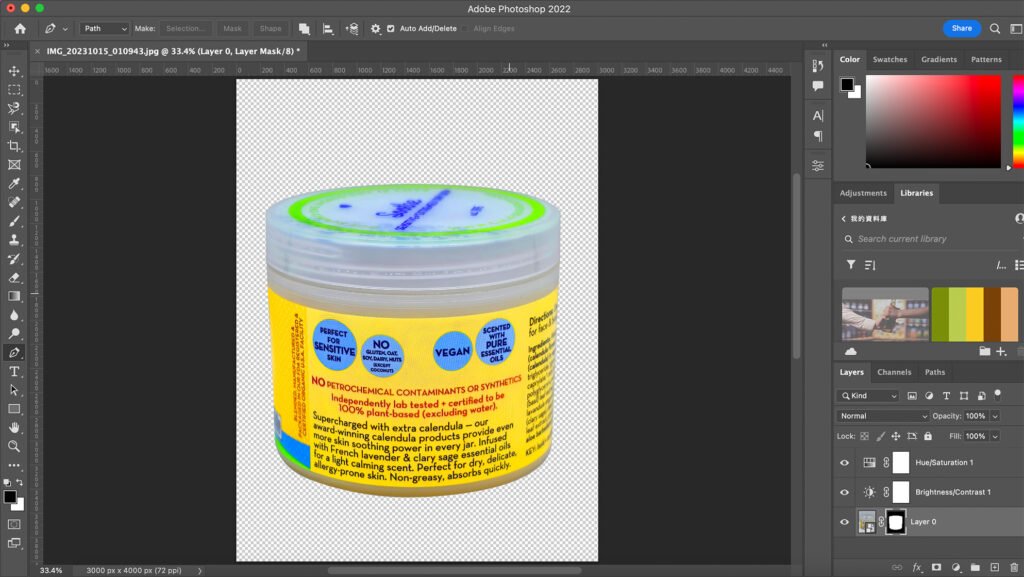
The photo now has a masked background. By outputting the photo, you can have a transparent image with only the product in it.
But this is not the END of this tutorial. To improve the quality of the product photo, we need to do a little bit more.
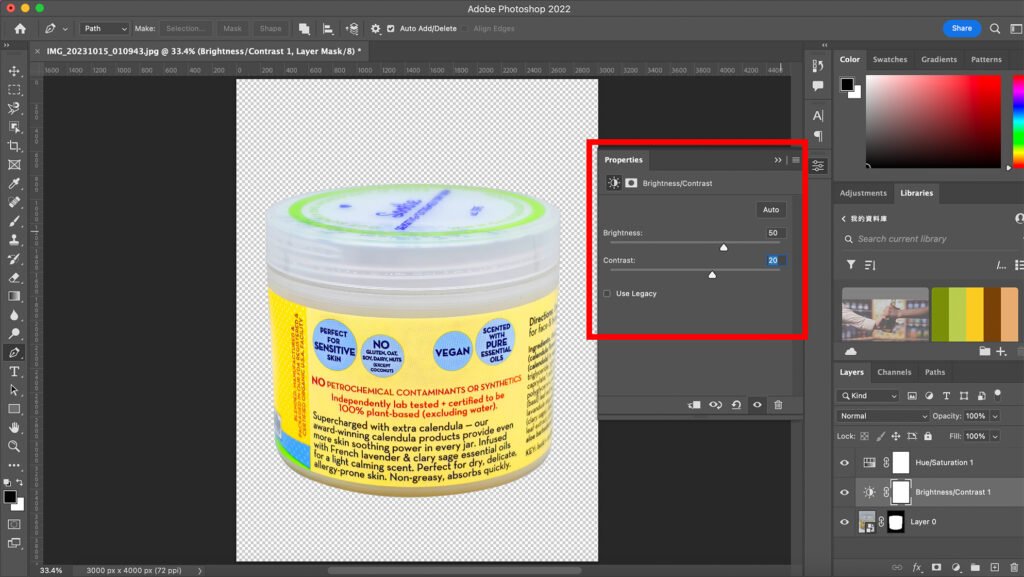
4. Brightness/ Colour
You can output this product photo without doing this step if the photo has a high quality (You may skip to Step 5). For my example above, I exaggerated the colours and brightness so that I can see the object better and select it more easily. I need to adjust the quality before exporting the output. Be sure to check the product photo’s quality before uploading to your company’s website or online store.
If you are still reading, you would also like to learn how to make the colours and brightness stand out. So let’s continue.
I decreased the saturation level so the colour looks more natural. I do not suggest you to adjust “Lightness” in the “Hue/Saturation” panel because it only increases the level of black or white colour. For “Brightness”, I decreased the value a bit but added contrast, so the overall image popped out even more.
Every image is different and its colour and brightness profile varies. Try to work the values out for your own image.
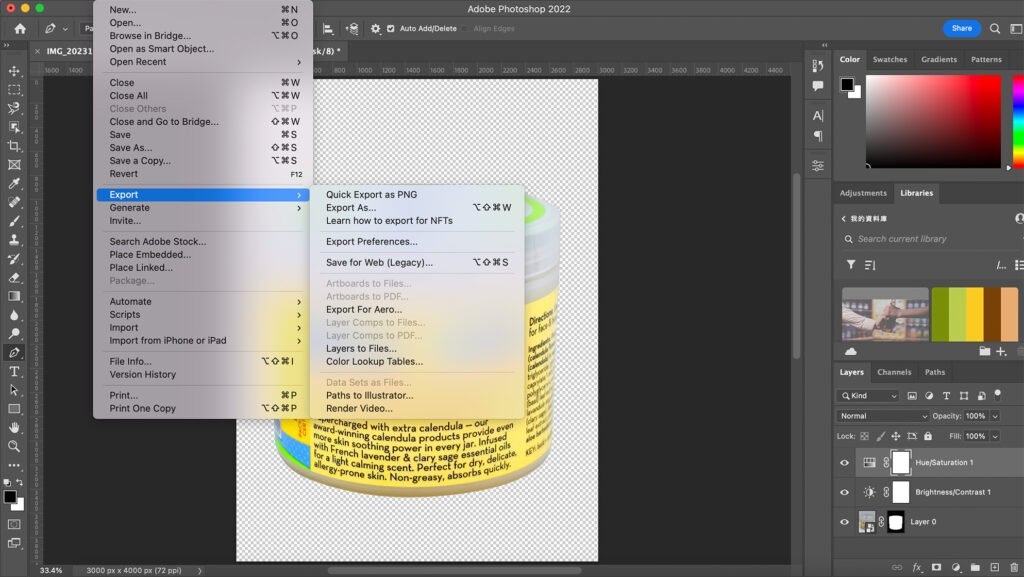
5. Export
Product photo background removal and photo retouching is done. Finish it by exporting the file. If you would like to export the product photo with a transparent photo background, then you can choose PNG. Otherwise, choosing JPG will give you a white background automatically.
Go to “File” on the top menu, “Export”, and “Export As”. Choose either PNG or JPG.
This time I choose PNG so that I can show you how it looks without having the background.
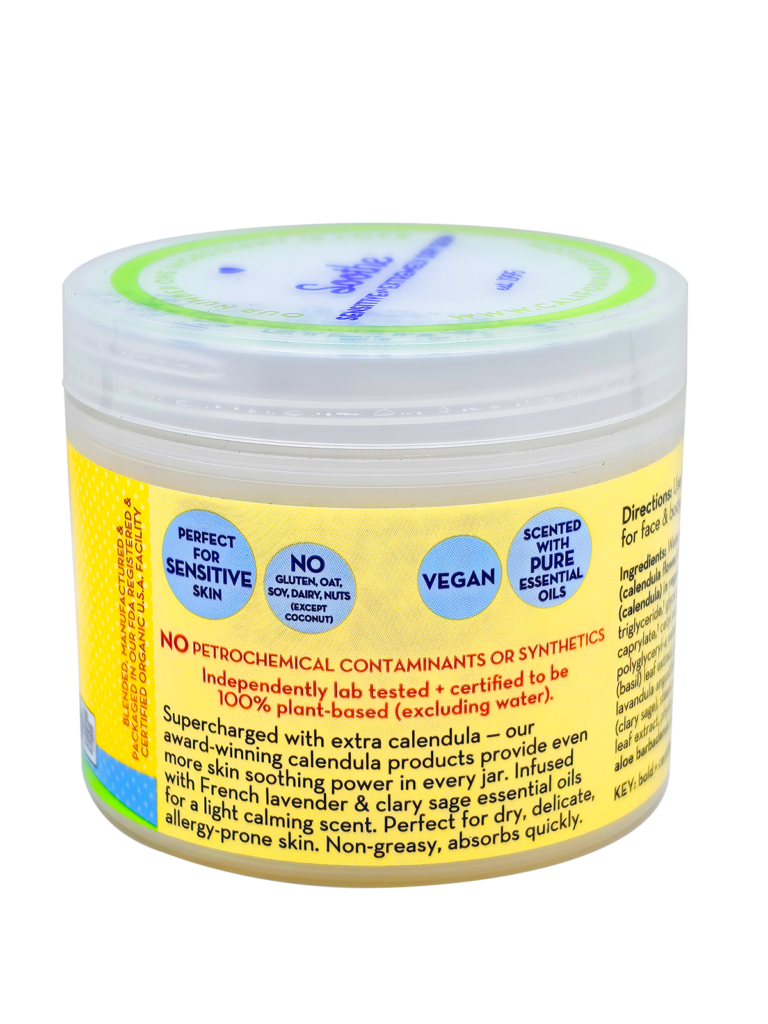
And there you have it. Below is the final output product photo without background for uploading to your website, e-commerce store or social media account.
Leave a comment if you have any questions regarding the techniques or steps in this blog post. Feel free to raise a question on anything you would like to know. Looking forward to hearing your feedbacks!